Installing Bucket Seats
This page is currently under construction and should be up in a couple of days. It seems I deleted it from the conversion pages. Dammit.
1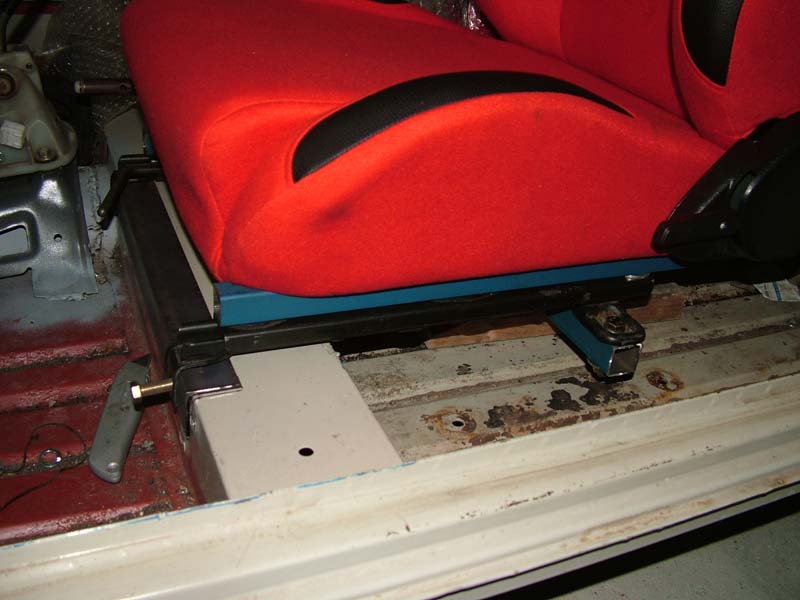 |
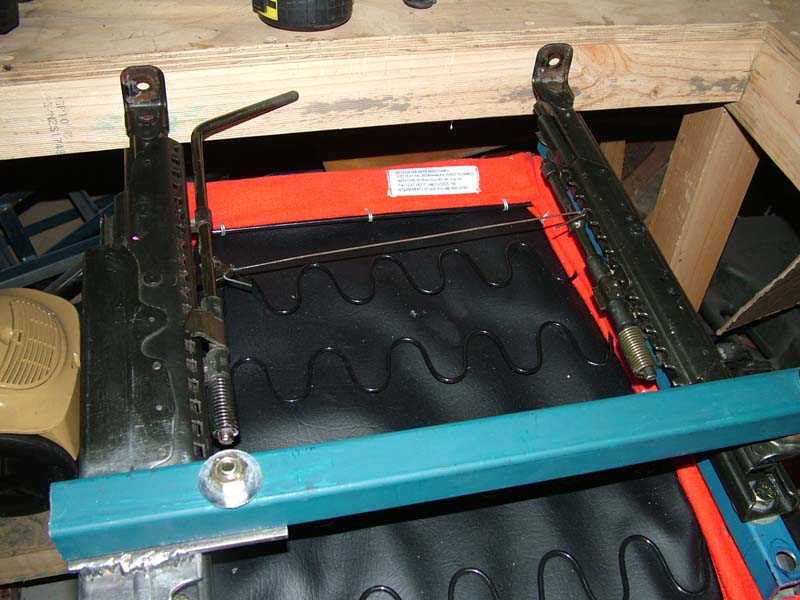
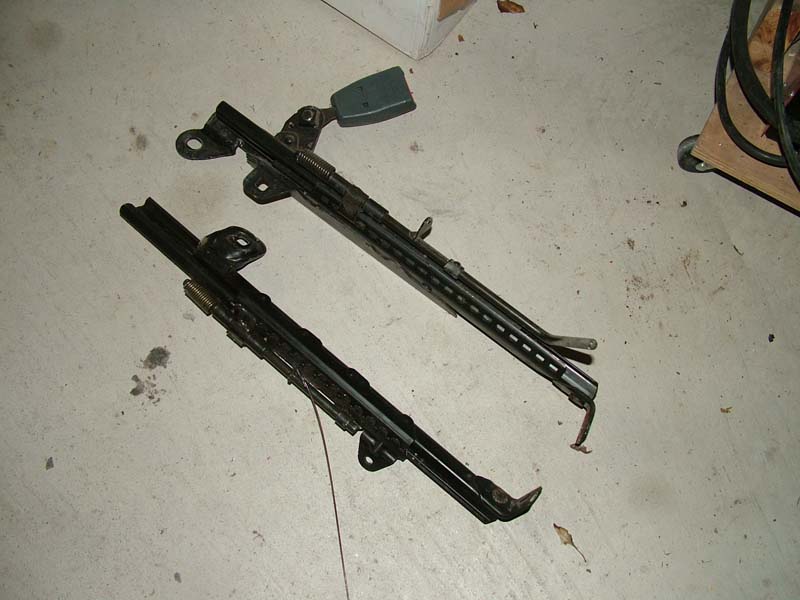
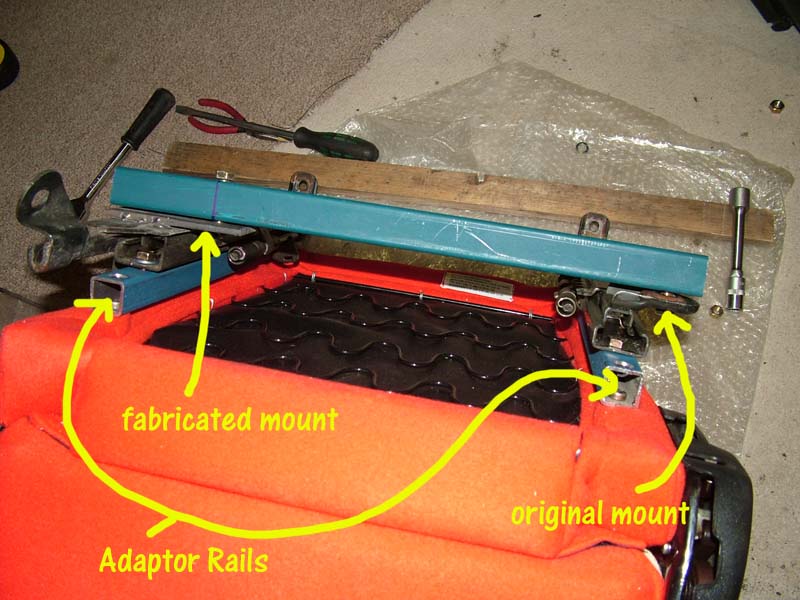
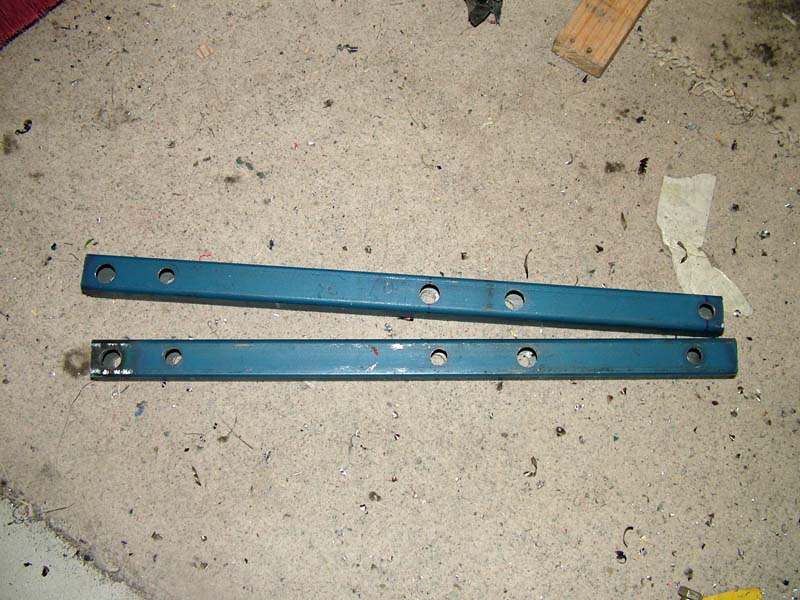
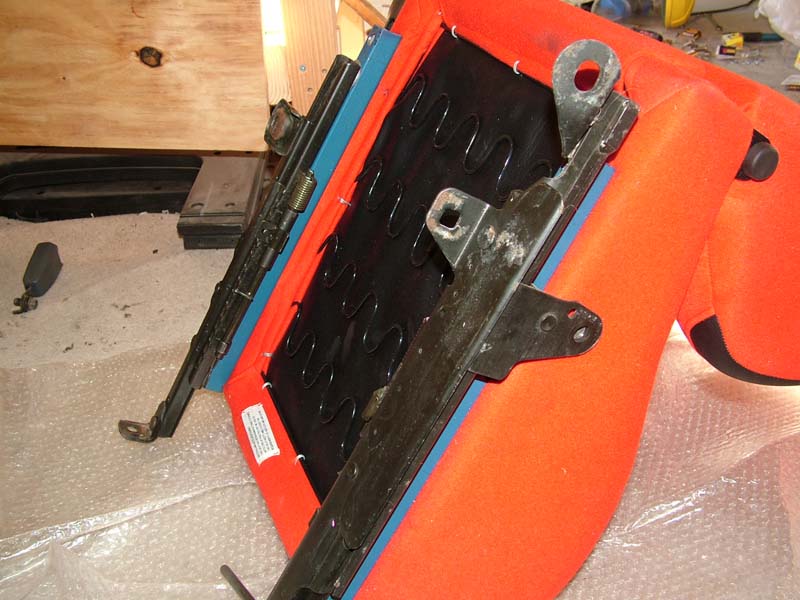
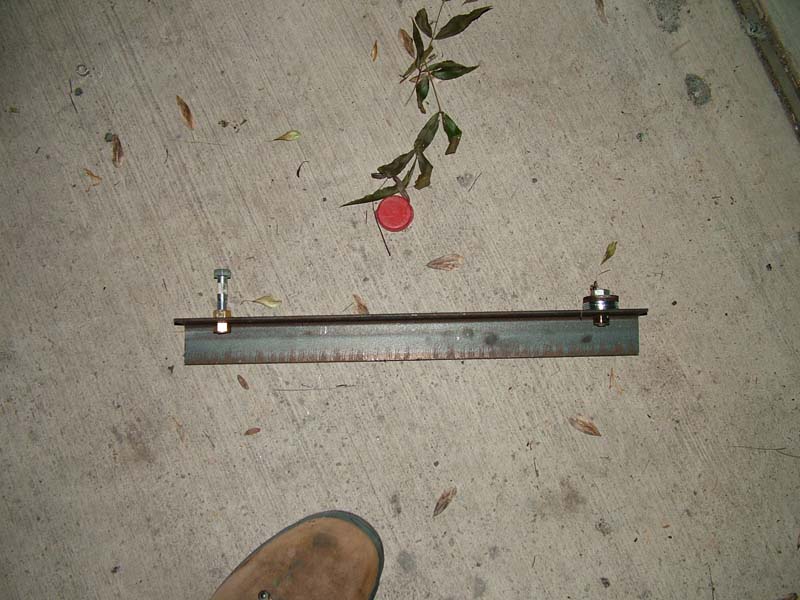
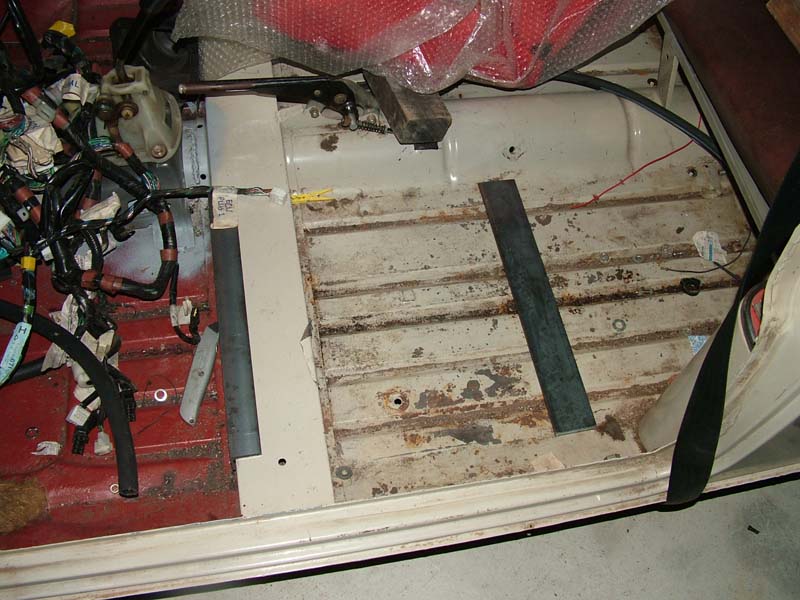
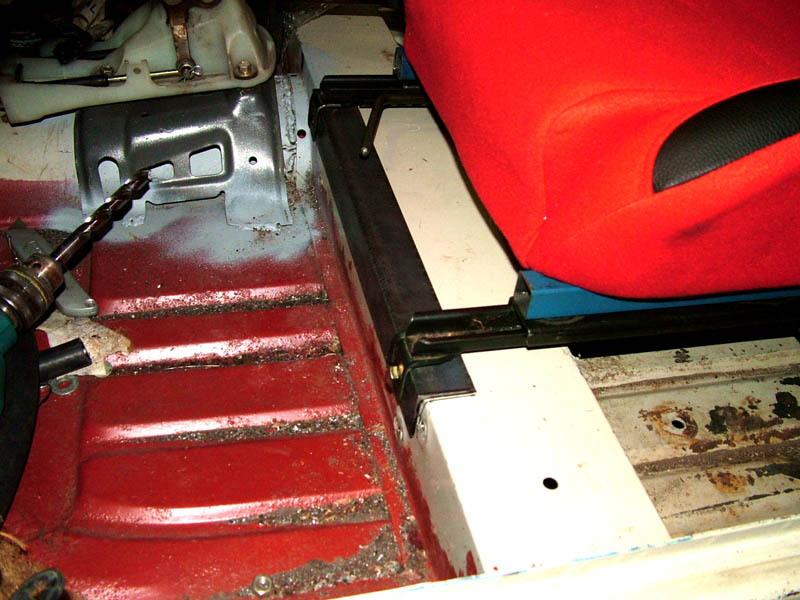
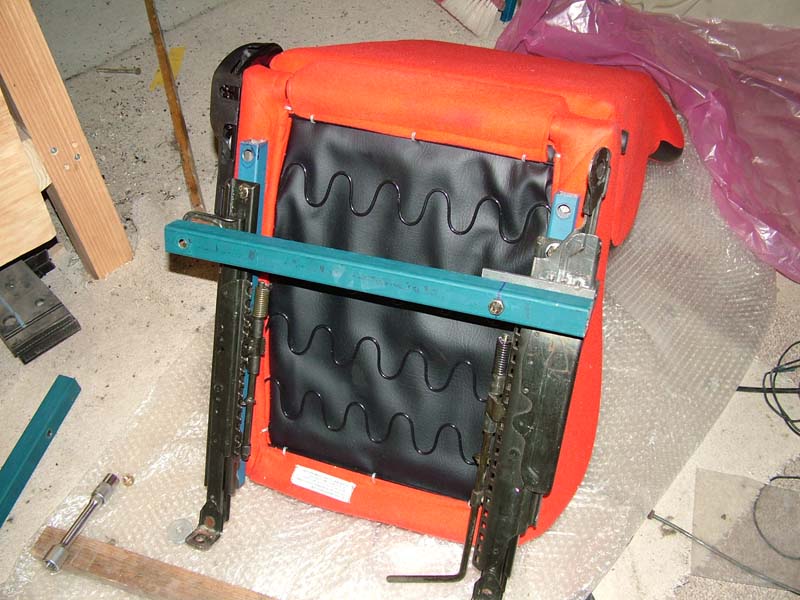
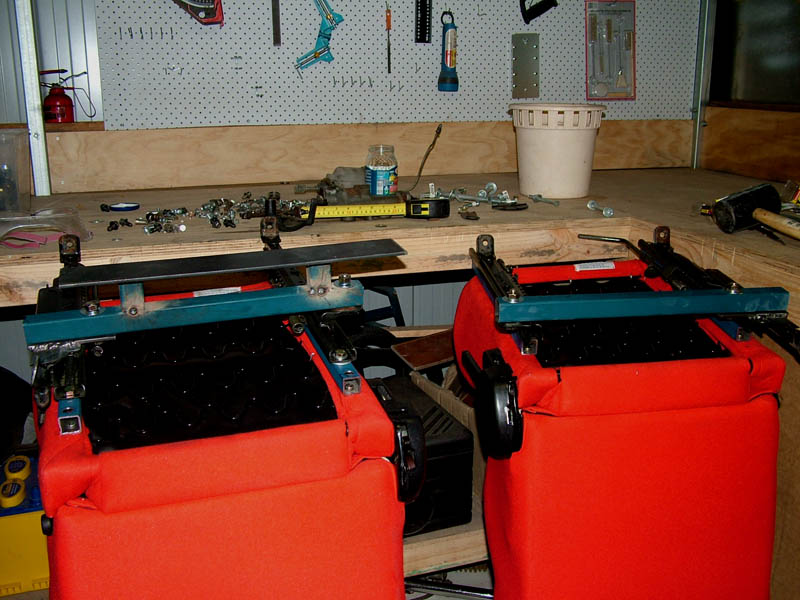
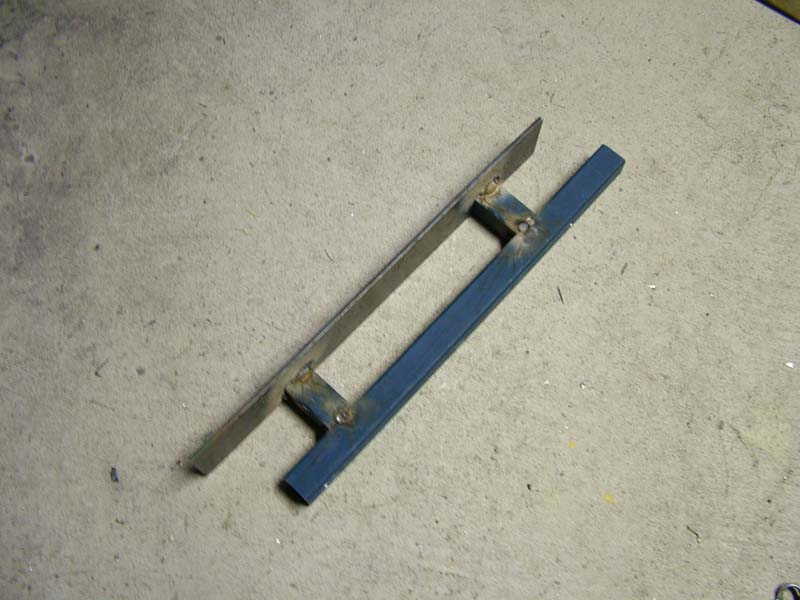
Step 1Finding Seat RailsThis is the process I followed to install a set of OBX Torino reclining bucket seats into my Mini. The process I would say is fairly similar to installing most bucket seats from a different car. Obviously you have do a fair amount of redesign as the way modern bucket seats are attached to cars is completely different to the way Mini seats were attached. So while not all of this will apply it most likely that alot of it will. The following process assumes that you have obtained some seats, this proces should also apply to most bucket seats from newer cars aswell. Anyway here's a step by step breakdown of what I did...
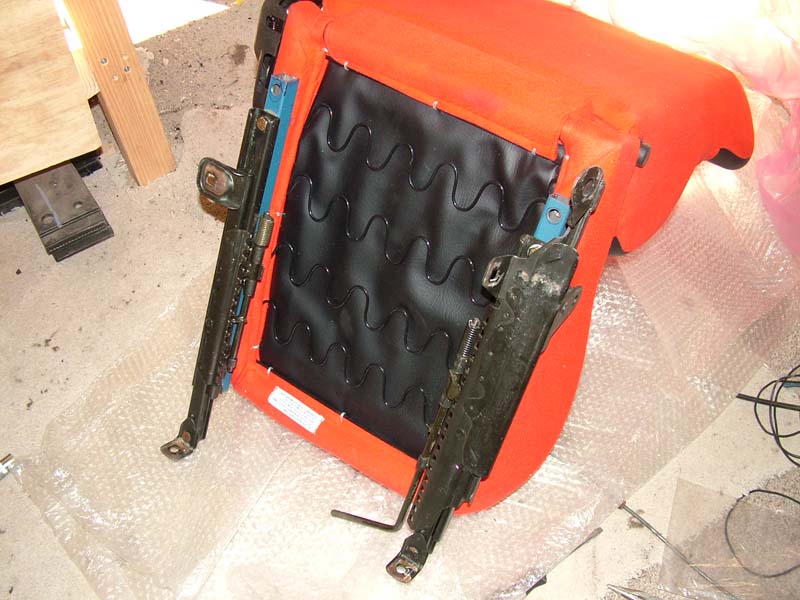
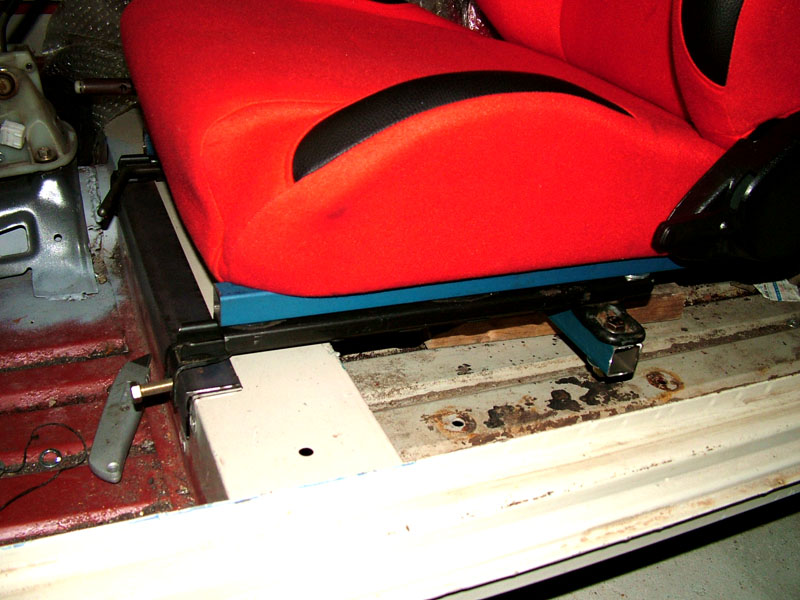
So that's it really, seems simple but there is a fair amount of work in
it. Still new racing seats in the car really make it. Plus given
the extra performance a good set of seats will make driving that little
easier. If you have any questions please email me.
|